This is a little buckram hat that I am making and these are the first stages. I cut 2 oblongs of white buckram fabric roughly 8 x 10 inches. Buckram is a stiffened cotton open weave fabric, and once wet it can be moulded and reshaped. I ran the pieces under the tap until they became soft enough to manipulate, then I stretched them over a polystyrene head. You don't need a hat block for this, as the hat will be one size, and just needs to have a curve to it. I stretched them on pulling and pinning at the same time to keep the fabric in place without folds. I always use 2 layers as I find it gives more body and a better finish. The starch in the fabric can make your hands sticky, and can cause the fabric to stick to your mould, so it is best to cover the mould /head with some cling film or tin foil first.

This was then left overnight to dry, it must be really dry before you remove it from the mould. Before I removed it I used a laundry pen to mark out a shape for my hat, and I decided on a small tear drop. I removed the buckram from the head and cut around my shape. The next stage was adding some wire to the edge to keep the hat firm and give a good shape. I decided to use plastic brim wire, as I don't want the hat to be bent or deformed. I stitched this in place using a zig zag stitch on the sewing machine.
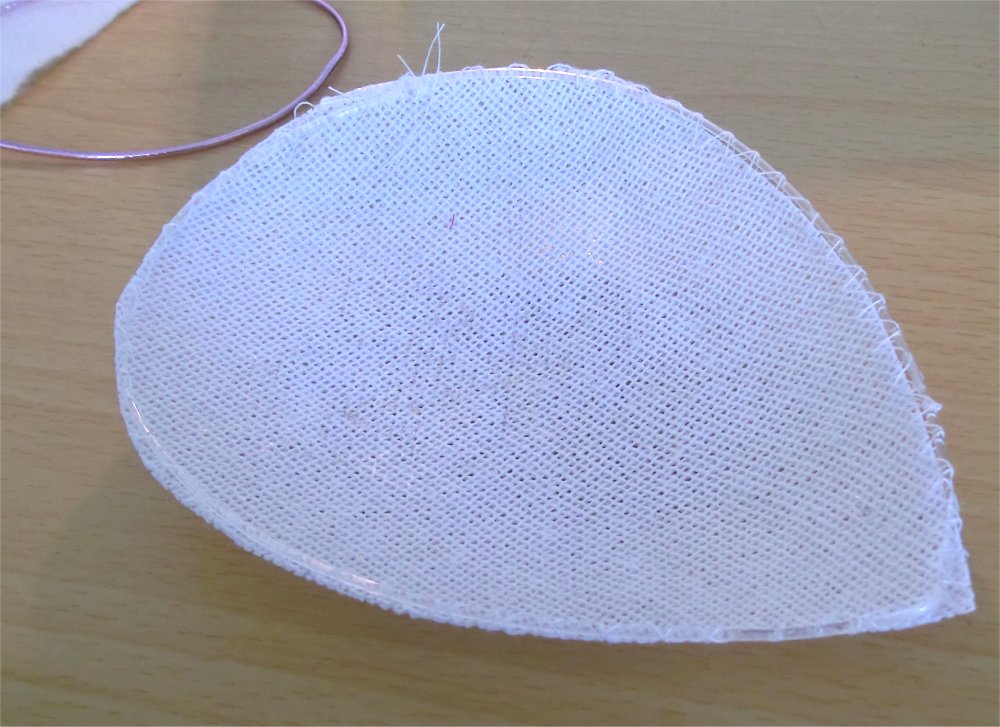
I like to add hat elastic at this stage, before I cover the base, and I had some nice shiny pink elastic, so I'm using this. I poked 2 holes either side of the base using an awl or you can use a large needle. I then thread the elastic through, make a knot and then stitch using the sewing machine to make doubly sure it won't come adrift!

Normally you would use a domette or similar fabric for covering the base, this achieves a nice smooth finish to your covering. I used a similar interlining and cut this to the approximate shape of the tear drop and fold over and roughly stitched in place. Then I sew, using a machine zig zag some bias binding around the inside of the base to give me something to sew the final cover and lining to.


Thats all for now, but I will add part 2, which is the trimming and lining etc. I hope you enjoy my tutorials
Oh, this tutorial is lovely and thorough! Didn't know the name of the fuzzy stuff (or that it was in the UK - domette!)
ReplyDeleteThank you!
Thanks Juliane. I know I'm only really a beginner on hats, but hoping the info helps...and it seems it does :)
ReplyDeleteThank you, this is very helpful!
ReplyDeleteThank you, this is very helpful!
ReplyDelete