Having blocked some red sinamay on it, I stitched brim reed and bias sinamay to the edge, added a red ribbon covered head band...and then went festive!
Millinery musings
Adventures in hat making,sewing and crafts
Tuesday, 17 November 2015
Homemade saucer block update and making my own blocking springs
Having blocked some red sinamay on it, I stitched brim reed and bias sinamay to the edge, added a red ribbon covered head band...and then went festive!
Monday, 16 November 2015
Necessity is the mother of invention - making a hat block
Friday, 4 July 2014
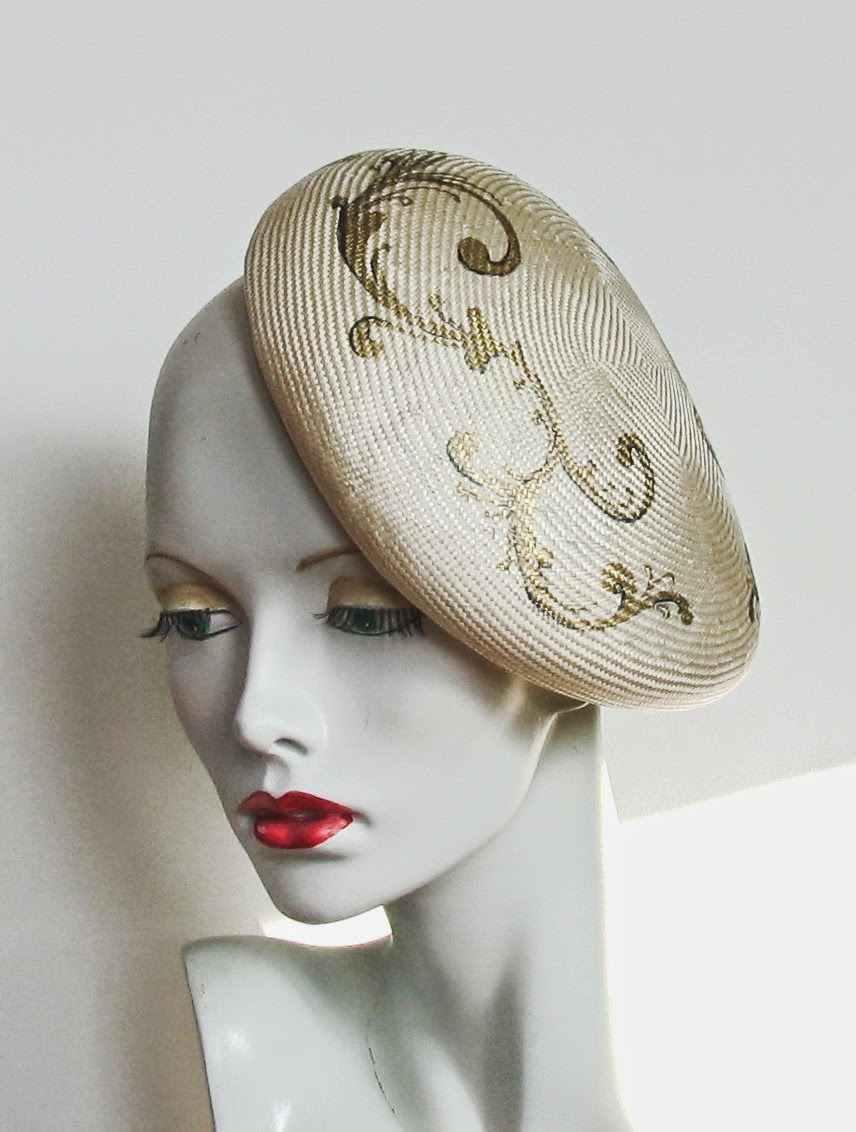
Handpainting a straw hat and using Shellac
So I thought I would do a few posts on how it came about. I do love painting on hats, and although I have painted fabric and felt, fine straw gives a much better 'canvas' being much smoother, and as I stiffen the hat first, the paint doesn't seep so much.
So here goes how I do it;
I decided to do a cloche, reasons being
- that you can see the painted design easily.
- who doesn't like a cloche!
- It gives me a large area to be creative.
Day2...well not really, more like 6 hours later.
but progress..
Hat has had light coat of shellac
and paints are out...
Sunday, 15 September 2013
I spent a happy hour yesterday at 'Rose Tinted Rags' a recycled textiles and arts project in Hereford. They have an amazing amount of vintage fabrics, haberdashery, sewing machines plus lots more and I came home with a bag full of interesting finds.
Among them was some very cheap new cotton shirting with a pale grey stripe. I thought this would be ideal to try out my vintage Butterick maternity smock.
As with most vintage patterns from that era, the instructions were brief and the pattern unprinted! The pattern is for sale in my Etsy shop, so to avoid making pin holes I used weights to hold the pattern down and a fabric pen to make the dots etc. I decided to make the sleeveless version and the instructions called for me to make a bias armhole facing (no pattern piece supplied) which I did, again using my pen to mark out...but in all honesty I would probably use bias tape if I made the top again.
The shawl collar was the type I hate sewing with a facing that I struggled to make neat, and I wasn't happy with the construction method for the yoke. But perseverance paid off and this was the finished top....
Excuse the black bin liner over the mannequin, but it is one of my vintage mannequins and in the smaller size that I needed....even though most of its covering has disintegrated!! Recovering will be another job for another day.
Happily my daughter loved the top, and has just taken it home with her.
Just a reminder, this was the pattern used..
Next on my list 'to do' is making some hats....as my millinery has fallen by the wayside lately, and withdrawal pangs are setting in. Ideas abound in the old grey cells including a clothe with soutache decoration...so maybe soon........ x x
Wednesday, 11 September 2013
www.themonthlystitch.wordpress.com
Friday, 8 February 2013
Half hat progress
I decided to cut the pattern much smaller and make the hat from some blocked felt. It was much easier to make and achieved a more pleasing shape. I also cut a strap for the back and stitched this in place. The edges of the hat have had gold and black trim, and a few black beads added. The hat has been stiffened with traditional shellac. I am still dithering about a small veil, what do you think?
I am busy gearing up for my stall at a Vintage clothing fair in Hereford on March 16th. So it has been a lot of fun make fascimiles of 1940s and 50s hats. I saw the one below in a knitting pattern ( you can see the original picture), and decided to have a go. Again it is blocked wool, but I must admit the edges aren't rolled as well as I would of liked...still, its been a learning curve!
Monday, 21 January 2013
Making a half hat pattern
Aside from ill health, the weather has meant a slow down to most things. Freezing cold days (-3c at the moment) and high humidity mean my day job is at a stand still. The builders who are constructing my new kitchen extension are also at a stand still.......so getting back to hats seemed my best option. Particularly as I have a stand at a Vintage fair in just a few weeks!
I found this picture via the web, and although no pattern was available I thought I would try and make the half hat pictured on the right hand side
I then measured out a pattern on grid paper, I guessed from the picture that the hat had to reach at least 7 inches across the crown.
I cut the pattern out in stiff iron on buckram and stretch velour. These were ironed together and then the darts sewn in each side. I then wired the entire edge. This is it so far, and although it sits on a small mannequin, I think I may have to make it slightly smaller next time.
I will continue with this one, and I am planning to decorate the edge with beads and sequins. I will post again when it is finished.


