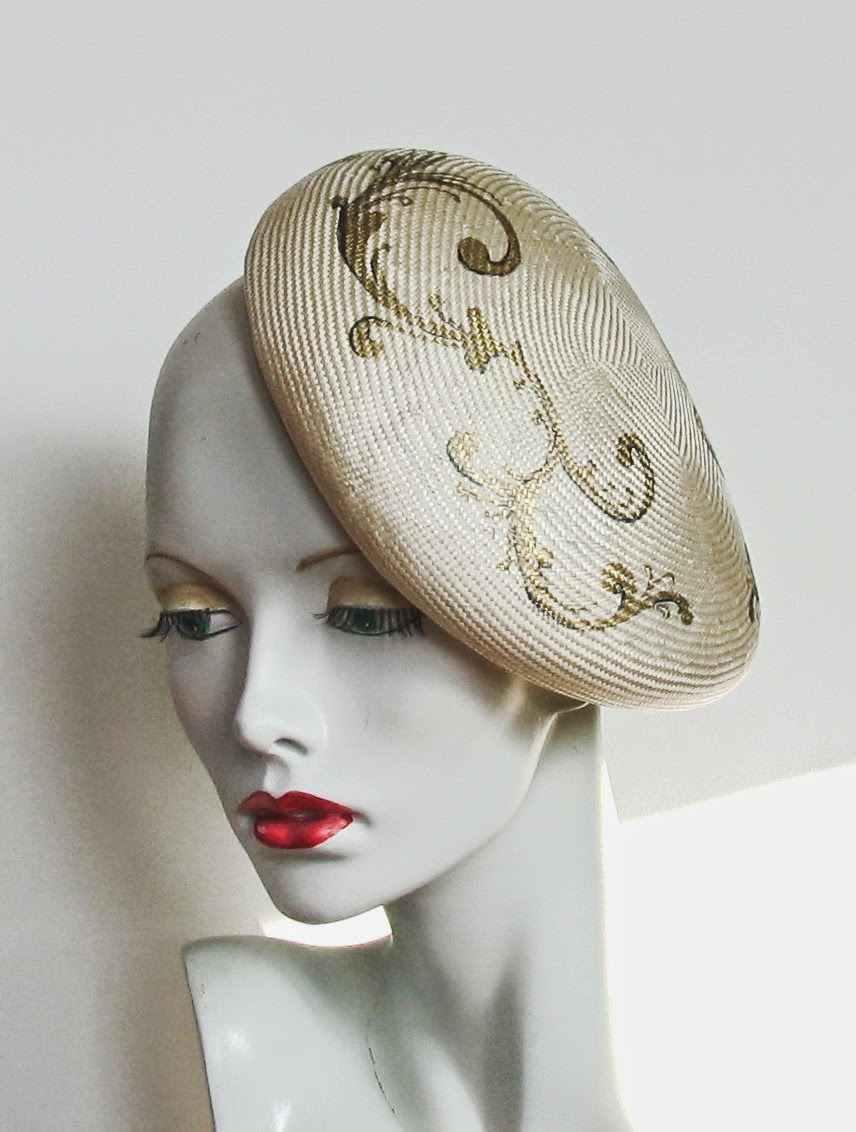
So I thought I would do a few posts on how it came about. I do love painting on hats, and although I have painted fabric and felt, fine straw gives a much better 'canvas' being much smoother, and as I stiffen the hat first, the paint doesn't seep so much.
So here goes how I do it;
I decided to do a cloche, reasons being
- that you can see the painted design easily.
- who doesn't like a cloche!
- It gives me a large area to be creative.
The block is an all in one, size 22.5
inches crown, which I have covered in cling film. Then I steam and
stretch the straw capeline. My pifco steamer gets good use here :)
This block has no string grooves, so slip knot string is used for the
crown and it has to be pinned underneath.
Whilst waiting for this to dry, I have been working on some design ideas. The 2 that appeal most are a Clarice Cliff style tree and house design, or alternatively some deco style leaves. I have worked on the design being roughly 4 inches high and 11 inches long, so that I can replicate on both sides.
It is too difficult to do straight lines on a curved hat, so it needs to be a flowing design that will be easy enough freehand. I am not sure which to go with yet!
I like to use Shellac for stiffening,
its great for straw or felt. Shellac is also called French Polish and
is extensively used for varnishing furniture. It comes in lots of
colours, but as I want this to stay the original colour, I am using
White or clear polish (it still has a slight brown tint but not
enough to affect the colour of the hat). You will need a mask and a
window open as the smell is quite strong, especially as it is diluted
with Methylated spirits. Gloves are a good idea, otherwise your hands
can get very sticky.
I would like to use clear Meths, but
this is not available to the public, it is all dyed purple to stop
people drinking it. But again, I haven't found the colour affects
things too much. Follow safety rules and keep away from flame etc.
Shellac dries very fast and very hard and needs practising with.
I dilute the shellac approximately
50/40 with meths, but it depends a lot on the straw and how hard I
want the finish. I use a wide brush for speed and an even finish. On
straw it will leave a lovely sheen, so if you want a matt finish it
is better to stick to traditional straw stiffener.
I'm off to see if the straw is dry and I will start stiffening, then onto the fun part...painting!! I hope to update tomorrow with the next installment.
Best wishes, Sara x
Day2...well not really, more like 6 hours later.
but progress..
Hat has had light coat of shellac
and paints are out...
Once the main colours and design are painted in I then added an outline with a waterproof black artists pen,
don't use sharpies I discovered at my cost they will run when adding the last coat of shellac!!!
I then put my string back to keep the shape and heat sealed with a hairdryer.
Hat design finished, but the hat is not! I have added another light coat of shellac and you can probably see where I used a sharpie pen for the black line between the orange and blue, it ran, but all will be made good. Tomorrow I will add a brim wire, brim edge and sweatband. I look forward to the finished hat


